
Turf Installation: The Complete Guide to a Perfect Lawn
March 13, 2026
Transforming bare soil into a lush green garden is the desire of anyone who owns an outdoor space. The installation of turf represents the most rapid and effective solution to achieve this result, eliminating the long waiting times required with traditional seeding. This technique consists of installing rolls of natural grass that have already grown, providing a mature and uniform appearance from the very first day.
Rolled turf is grown in specialized nurseries for a period of 12–18 months, during which the plants develop a dense root system and a compact leaf structure. At the time of harvesting, the sods are cut with a layer of substrate that keeps the roots intact, rolled up and transported to the destination site for immediate installation.
The advantages of ready-to-install turf
Installing rolled turf offers tangible benefits that explain the growing popularity of this technique. The first advantage is the immediacy of the result: while a seeded lawn requires 60–90 days to reach acceptable coverage, turf guarantees a garden that is completely green and usable in just a few hours of work.
Seasonality represents another distinguishing factor. Traditional seeding can only be carried out during specific periods of the year, typically spring and autumn, when temperature and humidity favor germination. Turf installation, on the other hand, can take place practically in any month of the year, excluding periods of intense frost or extreme heat above 30 degrees. This flexibility allows work to be planned according to individual needs without strict seasonal constraints.
The absence of weeds is a decisive advantage. A seeded lawn goes through long growth phases during which bare soil is colonized by unwanted plants that compete with young grasses. Rolled turf, instead, provides immediate total coverage that leaves no room for weeds, eliminating months of weeding and selective treatments.
Resistance to foot traffic develops quickly. After just 10–15 days from installation, when the roots have anchored to the underlying substrate, the lawn can be used normally for recreational and leisure activities. A seeded garden, on the other hand, requires several months before it can withstand pedestrian traffic without compromising the density and uniformity of the coverage.
Soil preparation: the foundation of success
Proper soil preparation unequivocally determines the success of the intervention. This preliminary work, often underestimated, requires time and attention but guarantees long-lasting results and a healthy lawn for years.
The first step consists of completely eliminating the weeds present in the area. At least ten days before installation, a systemic total herbicide is applied which penetrates the roots and completely eradicates unwanted plants. The biological alternative involves manual mechanical removal with careful extraction of the root systems, a more labor-intensive operation but preferable for those who wish to avoid chemical products.
Soil cultivation proceeds with deep tilling of 20–30 centimeters which loosens compacted soil, aerates it and facilitates future root development. During this phase, stones, roots of old plants, construction debris and any element that could hinder the perfect contact between sods and substrate are removed. Well-worked soil ensures adequate drainage and prevents harmful water stagnation.
Analysis of soil composition guides any necessary corrections. Soils that are too clayey, which retain excessive moisture, require the addition of silica sand in a layer of 5–10 centimeters. This correction is carried out by distributing the sand evenly and incorporating it with a second tilling that mixes the materials. Conversely, excessively sandy and highly draining soils require the addition of organic matter such as mature compost or peat, which improves water retention capacity and provides nutrients.
Base fertilization supplies the nutrients necessary for rooting. An organic fertilizer rich in phosphorus stimulates root development in the critical days following installation. Phosphorus encourages the formation of new roots that pass through the sods to anchor themselves to the underlying soil, a fundamental process for the consolidation of the turf.
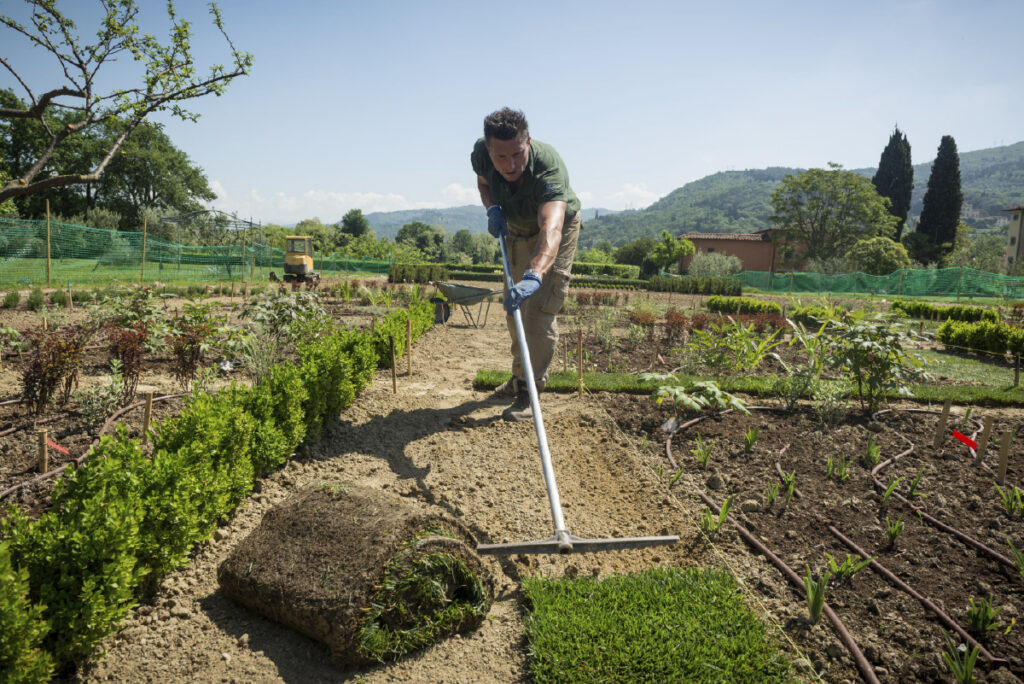
The final leveling creates a perfectly flat surface without depressions that would accumulate water nor bumps that would undergo excessive mowing during cuts. A wide rake is used to distribute the soil evenly, followed by light rolling with a 50–80 kilogram roller that moderately compacts the surface. The level should be 2–3 centimeters lower than surrounding paths and pavements to compensate for the thickness of the sods that will be installed.
Turf Installation: Technique and Timing
Installing turf requires operational speed and precise execution. The sods must be installed within 24–48 hours from harvesting at the nursery to maintain plant vitality and avoid vegetative stress that could compromise rooting. Once the material is delivered, work should proceed without interruption until the entire area is completed.
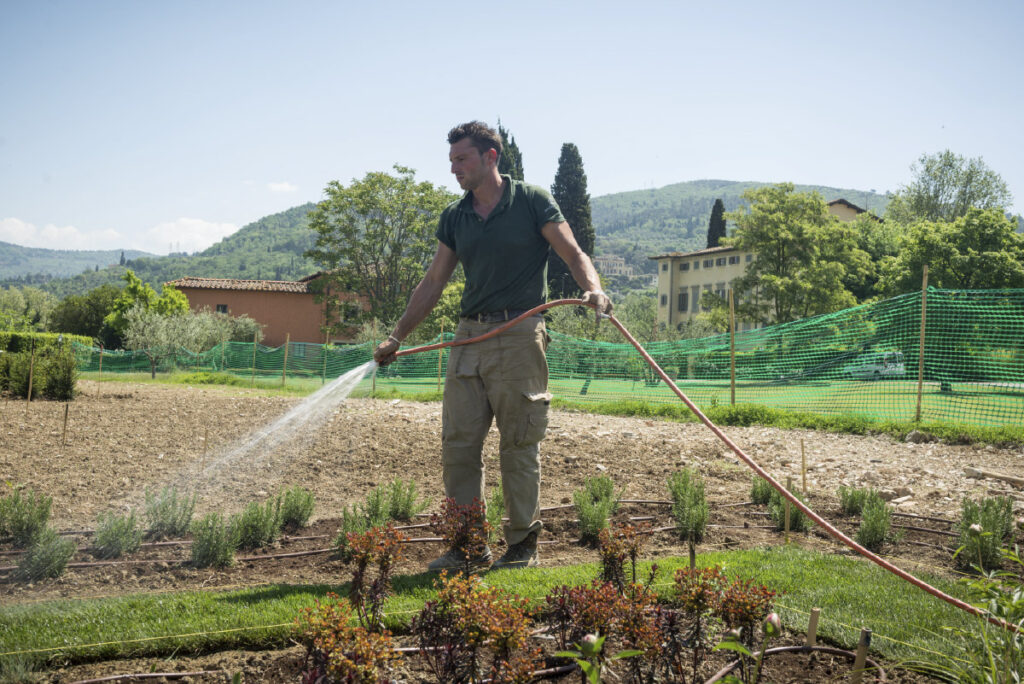
In the hours immediately before installation, the prepared soil should be thoroughly irrigated to ensure a moist and fresh substrate. The soil must be sufficiently wet to promote adhesion but not muddy, with the right consistency to receive the roots of the sods.
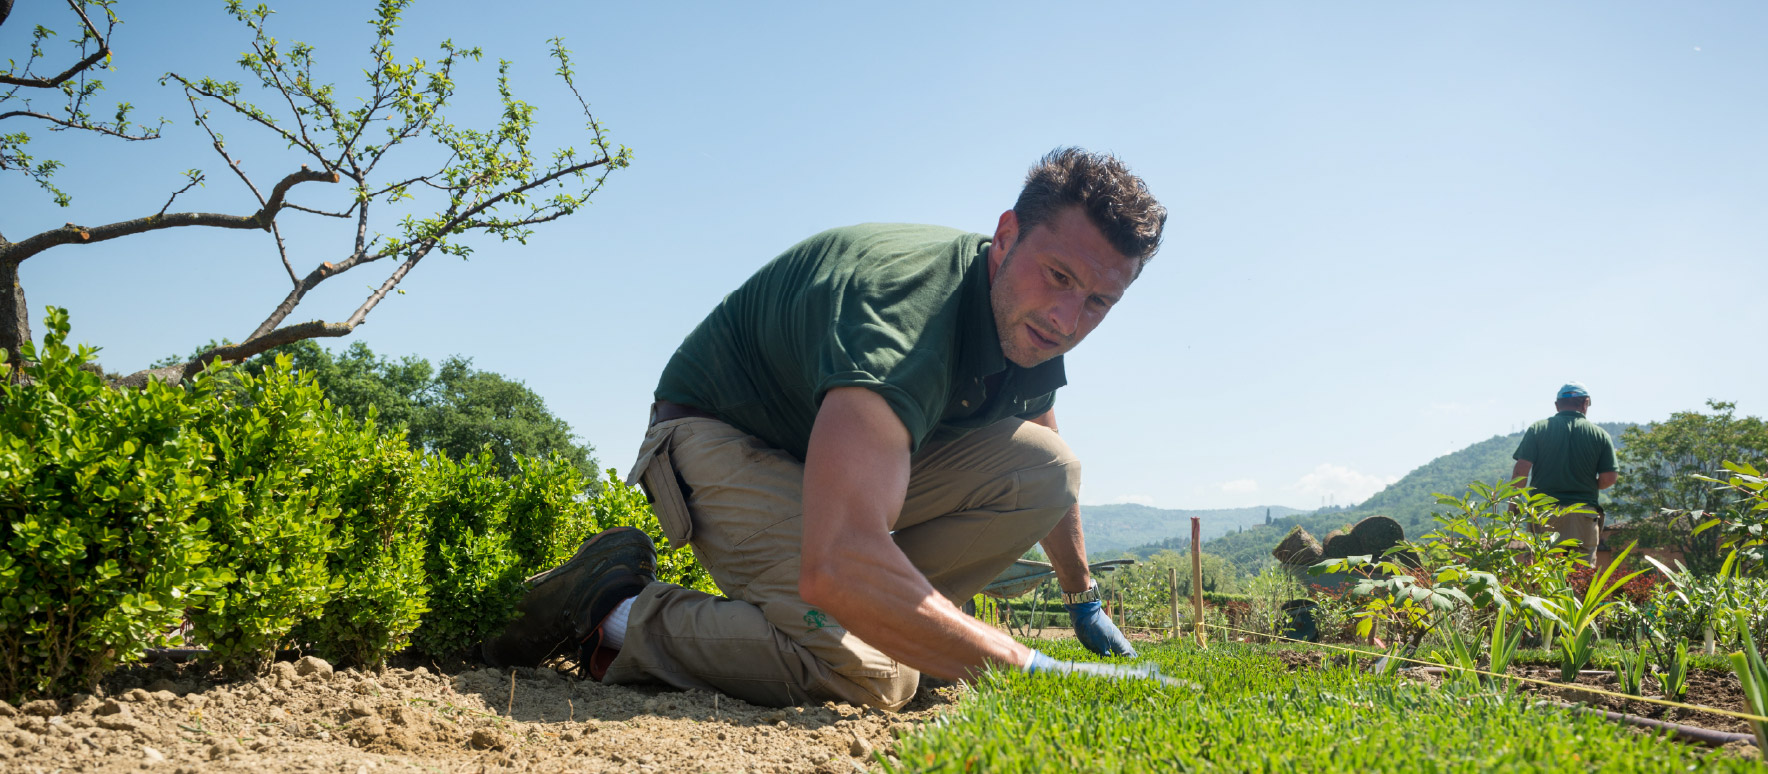
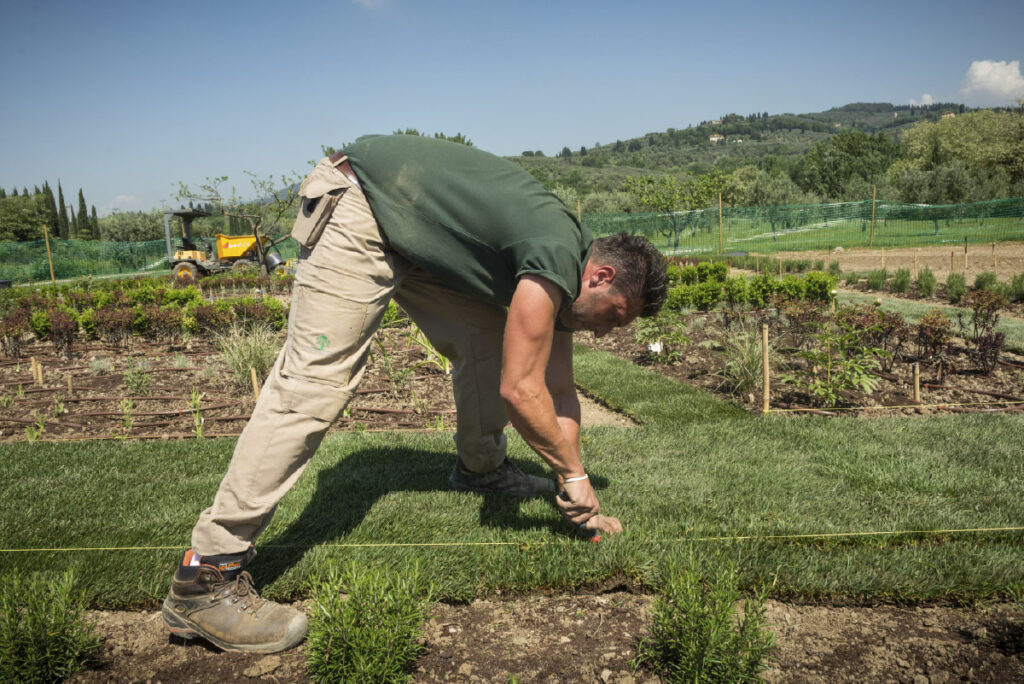
Laying the rolls begins from the farthest point of the area to avoid stepping on the sods that have just been installed, proceeding backwards toward the exit. The rolls are positioned in a straight line, placed tightly together without leaving gaps or creating overlaps. The side edges should be pressed manually to ensure close contact between adjacent sods, eliminating cracks where weeds could develop.
A staggered layout, similar to brick laying, prevents the alignment of transverse joints and gives greater structural stability to the lawn. Rolls in the following rows begin halfway along the previous ones, distributing the joints evenly. The sods are cut with a sharp knife to adapt them to irregular edges, obstacles such as trees or inspection covers, and the particular shapes of the garden.
Final rolling after completing the installation is a fundamental step that is often overlooked. A roller is passed over the entire surface applying uniform pressure that eliminates air pockets and ensures complete adhesion between the turf and the underlying soil. This direct contact encourages the migration of roots toward the substrate.
Immediate and abundant irrigation concludes the installation process. Water must penetrate through the thickness of the turf reaching the underlying soil, creating water continuity that stimulates the emission of new roots. About 10–15 liters per square meter are distributed, ensuring that the water is absorbed rather than running off the surface.
The Best Time to Install Rolled Turf
Seasonality affects the speed of rooting and the stress experienced by the turf. Spring, from March to June, represents the ideal period when mild temperatures between 15 and 25 degrees and frequent rainfall encourage rapid rooting with less need for artificial irrigation.
Autumn, between September and November, is the other optimal window. The summer heat has ended but the soil still retains enough warmth to stimulate root activity. Autumn rains reduce irrigation costs and effort, while cooler temperatures limit evapotranspiration and water stress.
Summer allows installation but requires particular attention and higher costs. With temperatures above 30 degrees, the lawn experiences strong water stress and requires frequent irrigation during daytime hours to keep the leaves hydrated. The interval between harvesting at the nursery and installation must be minimized and watering increased until complete rooting.
Winter allows installation in regions with mild climates where frost is occasional and short-lived. Temperatures close to zero slow down rooting, which will require 3–4 weeks instead of the usual two, but if the ground is not frozen the sods will still establish. Periods of prolonged frost must absolutely be avoided, as they would irreversibly damage the roots before they bond with the substrate.
Post-Installation Maintenance: The First Critical Days
The first two weeks after installation determine the success of the intervention. Daily irrigation keeps the contact layer between the sods and the underlying soil constantly moist, allowing the roots to cross the junction zone and anchor to the substrate. Water should preferably be distributed early in the morning or in the evening to minimize losses due to evaporation.
Daily visual inspection allows the prompt identification of sods that are not establishing properly. Warning signs include lifting edges, the ability to easily lift the sod from the ground, and localized yellowing. In these cases, immediate action is taken by increasing irrigation in that specific area and manually pressing the turf to restore proper contact.
The first mowing is carried out when the grass has reached a height of 8–10 centimeters, generally 10–15 days after installation. A lawn mower with perfectly sharpened blades should be used, set at a relatively high cutting height (6–7 centimeters) in order to remove only the tips of the blades without stressing the lawn, which is still in the consolidation phase. Dull blades would tear the grass instead of cutting it, damaging the plants and compromising the aesthetic appearance.
After 3–4 weeks from installation, when the turf has completely taken root and no longer lifts when pulled firmly, routine maintenance begins. Mowing frequency stabilizes at intervals of 5–7 days during the growing season, maintaining a cutting height between 3 and 5 centimeters depending on the type of grass installed. Reinforcement fertilization with a balanced fertilizer supports vegetative growth and leaf density.
Turf Installation in Florence and Tuscany: Local Experience Matters
When discussing turf installation in Florence and Tuscany, local experience makes a real difference. Working on private gardens, shared residential green areas and outdoor spaces within a historical, urban and landscape context such as that of Florence requires cross-disciplinary expertise: knowledge of the geological characteristics of Tuscan hillside soils, mastery of soil preparation and turf roll installation techniques, compliance with municipal regulations regarding external landscaping works, and the ability to operate while preserving the integrity of the garden and its surrounding environment.
In Florence, Atelier Dimensione Verde represents a point of reference for those seeking technical expertise, recognized certifications and extensive experience in the creation of rolled lawns and the management of ornamental green spaces.
The Florentine company stands out for its professional approach, its ability to interpret the specific needs of each green space, and the implementation of targeted interventions designed to ensure a long-lasting lawn while enhancing green heritage, from the private garden to historic parks and the green areas of hospitality facilities. For those who want a turf installation that combines effectiveness, respect for the agronomic characteristics of the territory and protection of the urban landscape, relying on specialized operators such as Atelier Dimensione Verde means investing in a technically excellent result that complies with regulations and respects the ecosystem of the garden.
Linkography and Academic Sources
Scientific Journals and Academic Publications:
- Acta Horticulturae – International Society for Horticultural Science: publications on turfgrass and ornamental green space management – https://www.ishs.org/acta-horticulturae
- HortScience – American Society for Horticultural Science: research on turf grasses and installation techniques – https://journals.ashs.org/hortsci
- Crop Science – Crop Science Society of America: studies on varietal selection and grass physiology – https://acsess.onlinelibrary.wiley.com/journal/14350653
- Journal of Environmental Horticulture – Horticultural Research Institute: articles on sustainable turf management – https://hriresearch.org/publications/journal-of-environmental-horticulture/
- Italian Journal of Agronomy – Italian Society of Agronomy: Italian research on herbaceous species and agronomic management – https://www.agronomy.it/index.php/agro
University Textbooks and Technical Manuals:
- Beard, J.B. (2002). Turf Management for Golf Courses. Ann Arbor Press – international reference text on turf management – https://www.worldcat.org/title/turf-management-for-golf-courses/oclc/48929353
- Turgeon, A.J. (2011). Turfgrass Management. Pearson – comprehensive university manual on agronomy and grass management – https://www.pearson.com/en-us/subject-catalog/p/turfgrass-management/P200000003312
- Christians, N.E., Patton, A.J., Law, Q.D. (2016). Fundamentals of Turfgrass Management. Wiley – scientific foundations of lawn management – https://www.wiley.com/en-us/Fundamentals+of+Turfgrass+Management%2C+5th+Edition-p-9781119308867
Scientific Institutions and Research Centers:
- CREA – Council for Agricultural Research and Agricultural Economics Analysis: Italian scientific publications on agronomy and herbaceous species – https://www.crea.gov.it
- University of Pisa – Department of Agricultural, Food and Agro-Environmental Sciences: research on Mediterranean turfgrass – https://www.disaaa.unipi.it
- University of Bologna – Department of Agricultural and Food Sciences and Technologies: studies on sustainable management of ornamental green spaces – https://distal.unibo.it
Regulations and Technical Standards:
- UNI 11235:2007 – Design, construction, control and maintenance criteria for green areas – https://store.uni.com/uni-11235-2015
- AIAPP Guidelines (Italian Association of Landscape Architecture) for the creation and management of turfgrass – https://www.aiapp.net
Article Summary Table
| PHASE | ACTIVITY | TIMING | TECHNICAL NOTES |
|---|---|---|---|
| Soil Preparation | • Weed removal • Tilling 20–30 cm • Soil composition correction • Base fertilization • Leveling and rolling | 10 days before installation |